I have to start by saying that Nate and I combined are maybe the least handy people 😆 We tend to leave most any project besides painting to the pros. So just a little warning for you, this is going to be the “we are super ancy and love to cut corners” diy, so if that is your jam read on! But if you like something more detailed and probably the pro way to do it you can follow this tutorial by the lovely Kourtni of House on Longwood Lane. She is the queen of diy and has some amazing tutorials. When we finally rallied and decided to tackle this project ourselves we used her tutorial as a starting block.
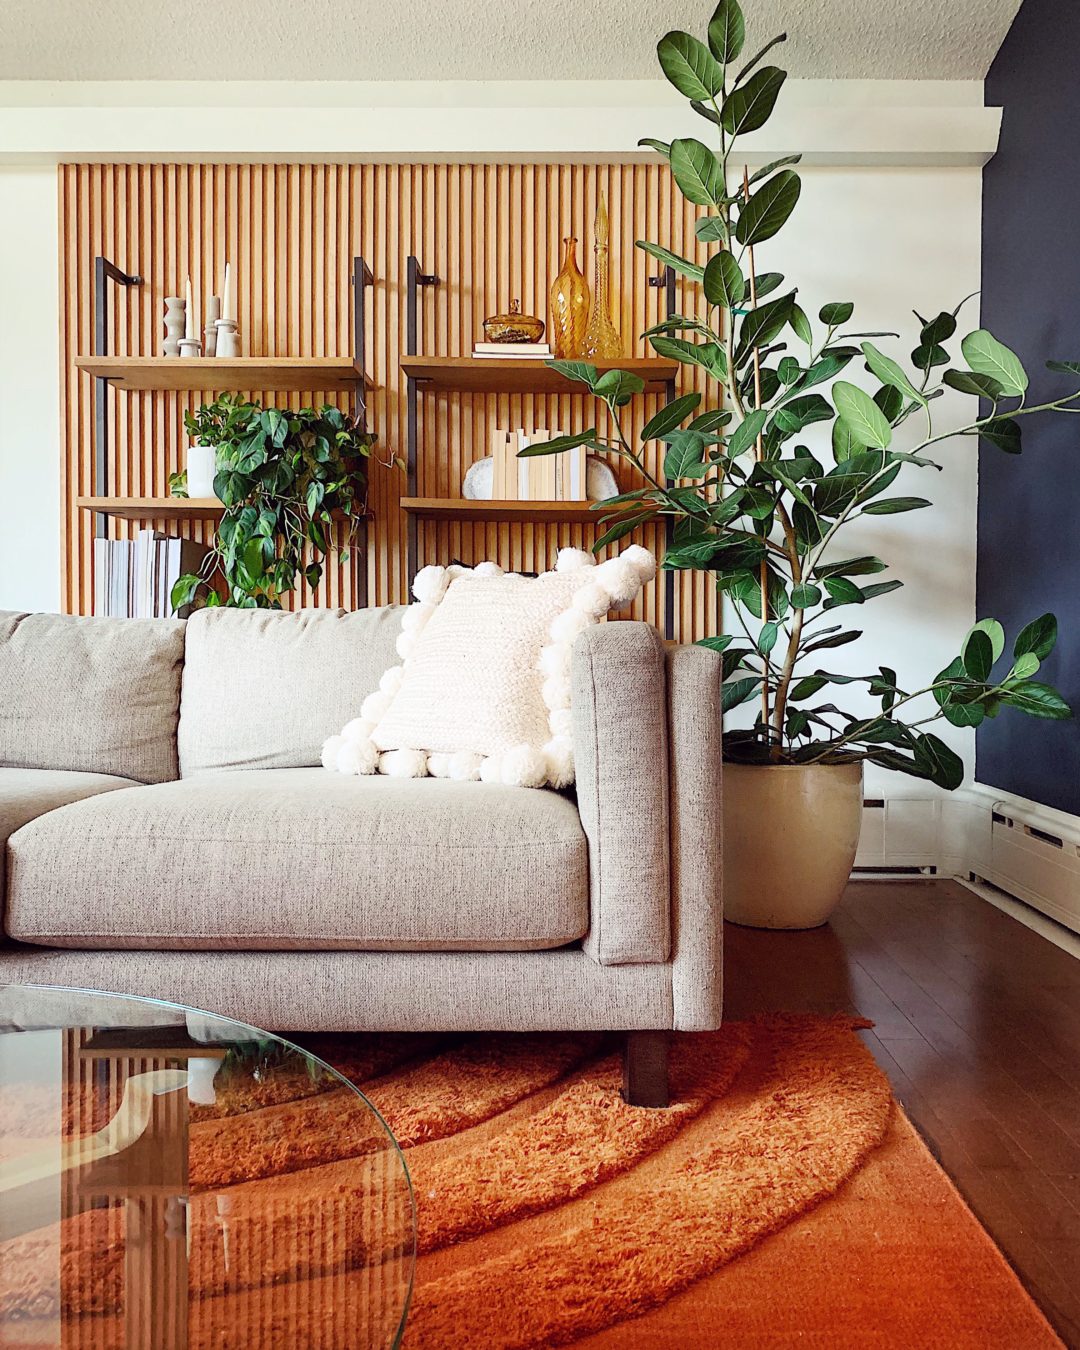
With Summer moving into Fall I was feeling the need for a big change. I decided what better way to freshen things up than to paint our living room! Once we painted though I felt like the shelves were looking a little bare. We have been dreaming of a slat wall for awhile now for our future basement renovation and I loved the idea of incorporating a smaller slat wall to warm up the space behind the shelves. Here are some of my fav inspirations!


After looking through Kourtni’s tutorial we decided to take a trip to Home Depot to see what we could find that would work best for our wall. The great part about going here was that we were able to have them cut all of the wood for us since we don’t have any of the tools to do this at home. Here is what we needed:
- 4′ x 8′ plywood (we used 2 sheets)
- 1/2″ x 3/4″ trim pieces (we used 54 pieces)
- sand paper
- Semi-transparent stain (we used Behr Cedar ST-146)
- old brush or inexpensive brush
- old cloth (non terry cloth)
- work gloves
- brad nailer
- brad nails
- Wood filler stick
I started by sanding the rough edges of the plywood that had been cut. After that I stained the plywood and all the trim pieces individually. I found it helpful to brush on the stain and wipe off the excess with a cloth so that it worked its way into the grain and didn’t leave blotches. It is a pretty messy job so gloves are helpful!

Once everything had dried we were ready to go! We started by drilling the plywood into the wall on the left hand edges where we were going to begin. You want to make sure that your screw will be hidden under the first piece of trim. This should be enough to keep it in place as you nail in the trim pieces. We waited to screw the other side as we weren’t sure where the trim would cover.

We used a level to nail in the first piece of trim, 3/4″ side up, and then after that we used an extra piece of trim as a spacer to guide us and keep us lined up and level. Once we were close enough to the edge of our plywood, we could then line up where we could place the last couple screws in the plywood and cover with trim.


Illume Geo Pillar Candles / Hearth and Hand candle stick holders